The Complete Guide to Film Development: From Tank to Print
Developing your own black and white film is a rewarding experience that connects you deeply with the photographic process. This guide provides a step-by-step walkthrough of film development, covering everything from mixing chemicals to the final drying of your negatives. We’ll focus on traditional methods, perfect for beginners and experienced photographers alike.
What You’ll Need
- A Darkroom (or room with absolutely no light)
- Film Developing Tank
- Film Reel (appropriate for your film size – 35mm, 120, etc.)
- Measuring Cylinders (100ml and 50ml are useful)
- Thermometer
- Timer
- Film Developing Chemicals:
- Developer (e.g., Ilford ID-2, Kodak D-76)
- Stop Bath (typically diluted acetic acid)
- Fixer (e.g., Ilford Rapid Fixer, Kodak Fixer)
- Wetting Agent (e.g., Photoflo)
- Distilled Water (for mixing chemicals and final rinse)
- Film Clips
- Squeegee (optional, but recommended)
- Gloves
- Towel
Step 1: Chemical Preparation & Safety
Always wear gloves when handling chemicals! Read the instructions on your specific chemicals carefully. Typically, you'll need to mix the developer with water according to the manufacturer’s recommendations. Accuracy is vital; precise measurements are key to consistent results. Prepare all your solutions before you load your film onto the reel. Make sure your darkroom is light-tight. Even a tiny amount of light can ruin your film. Understanding the chemistry involved is crucial, and improper ratios can lead to issues like high or low contrast negatives, requiring adjustments in subsequent development cycles. Speaking of adjusting, the final prints will also require precise darkroom techniques; you may want to investigate understanding cropping in darkroom printing to get the best results.
Step 2: Loading the Film onto the Reel
This is perhaps the most nerve-wracking step for beginners. Work quickly and methodically in subdued red safelight. The goal is to load the film onto the reel without exposing it to light. There are different reels for different film formats. Practice loading a roll of film in safe light before you begin development. A successful loading is crucial – a film stuck on the reel will ruin the entire process. The precision needed is similar to the steps later in the development and printing process; archiving your final archiving your black and white prints requires meticulous care, just as loading your film does.
Step 3: The Developing Process
Here's a breakdown of the development steps, assuming a typical developer like ID-2:
- Pre-Wash (Optional): Some photographers prefer a quick pre-wash with water to remove any anti-halation dyes. This can slightly increase contrast.
- Developer: Pour the developer into the tank, ensuring it completely covers the film. Agitate the tank according to the developer’s instructions – typically a series of inversions followed by periodic agitation. Time the development accurately. Developer strength and time are critical; improper developer dilution or timing can result in negatives that are too high or low in contrast.
- Stop Bath: After the developer time is complete, quickly pour out the developer and pour in the stop bath. Agitate continuously for 30-60 seconds. The stop bath halts the action of the developer.
- Fixer: Pour out the stop bath and pour in the fixer. Follow the fixer’s instructions for agitation and duration. Fixer removes the unexposed silver halide crystals, making the image permanent. The process of fixing is equally important, and contributes to the long-term stability of your negatives.
- Wetting Agent (Optional): After the fixer, a rinse with distilled water followed by a bath in a wetting agent like Photoflo helps reduce water spots on the negatives.
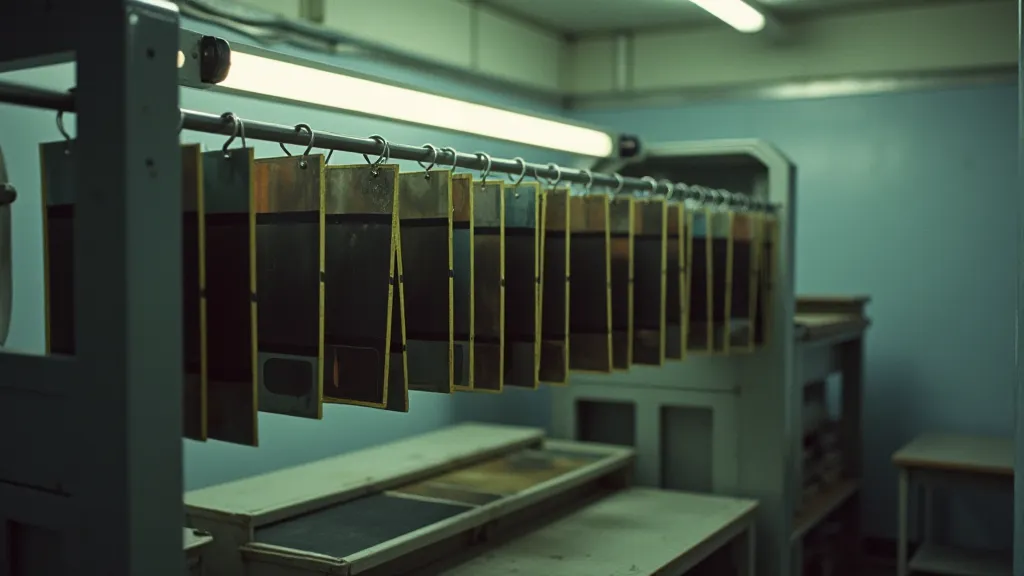
Step 3: Washing & Drying
Thoroughly wash the film under running water for at least 20-30 minutes to remove all traces of chemicals. A good wash is critical to archival stability. The longevity of your negatives depends heavily on complete removal of fixer. After washing, you can use a squeegee to gently remove excess water, or hang the negatives to dry. Use film clips to hang the negatives in a dust-free environment. Allowing the negatives to dry thoroughly is essential to prevent mold or other degradation over time. Sometimes, achieving the desired aesthetic requires more than just careful development and printing; creating multiple negatives for composite printing is a technique that can vastly expand your creative options.
Troubleshooting Tips
- High Contrast Negatives: Could be caused by overdevelopment, too high a developer dilution, or a fast film speed.
- Low Contrast Negatives: Could be caused by underdevelopment, too weak a developer dilution, or a slow film speed.
- Grainy Negatives: Often due to pushing the film (overexposing it) or using a film with large grain size. Pushing film introduces grain, but can sometimes be exploited for artistic effect.
- Water Spots: Ensure proper washing and use a wetting agent.
- Streaky Negatives: Often caused by improper agitation during development. Make sure the developer, stop bath, and fixer are covering the entire film surface.
- Negative is Dull/Flat: This can be a sign of insufficient development, potentially due to inaccurate temperature or old developer.
Extending Your Creative Vision: Dodging and Burning
While a solid foundation in basic development is key, you can significantly elevate your photographic results by mastering more advanced techniques. Dodging and burning, for instance, are powerful tools for manipulating contrast in specific areas of your negatives, allowing for nuanced control over the final print. It's similar to localized editing in digital photography, but executed directly on the negative. It requires a steady hand and a good understanding of how light and shadow work, but the results can be truly remarkable. This also expands your understanding of how to create a final print which can contribute to how you dodging and burning: mastering local contrast.
Conclusion
Developing your own black and white film is a journey of experimentation and refinement. Don't be discouraged by initial challenges. Each roll of film is a learning experience. With practice and attention to detail, you'll be rewarded with beautifully developed negatives and a deeper appreciation for the art of photography. The process, from loading the film to the final drying, is a meditative and rewarding experience that connects you with the history and artistry of photography in a way that digital processes simply cannot replicate. Continue exploring, experimenting, and refining your technique – the possibilities are truly endless.