The Chemistry of Black and White Film Development
A deeper dive into the chemical processes involved in black and white film development.
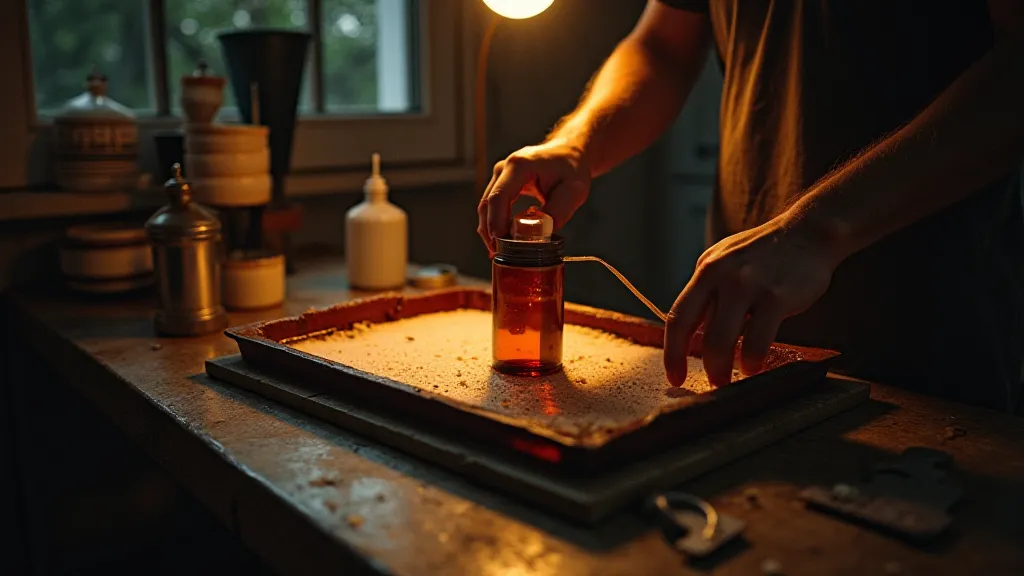
Many aspiring darkroom photographers focus on the technical aspects – the temperature of the developer, the agitation patterns, the timing. These are crucial, absolutely. But understanding *why* these steps matter requires a grasp of the chemistry underpinning black and white film development. It’s a fascinating journey from light-sensitive silver halide crystals to a visible, permanent image.
The Silver Halide Crystal: The Foundation
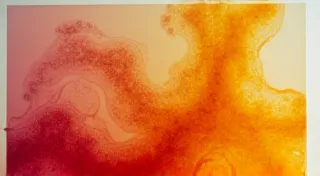
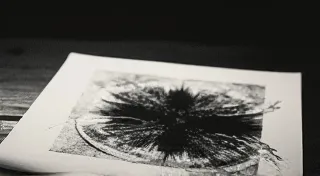
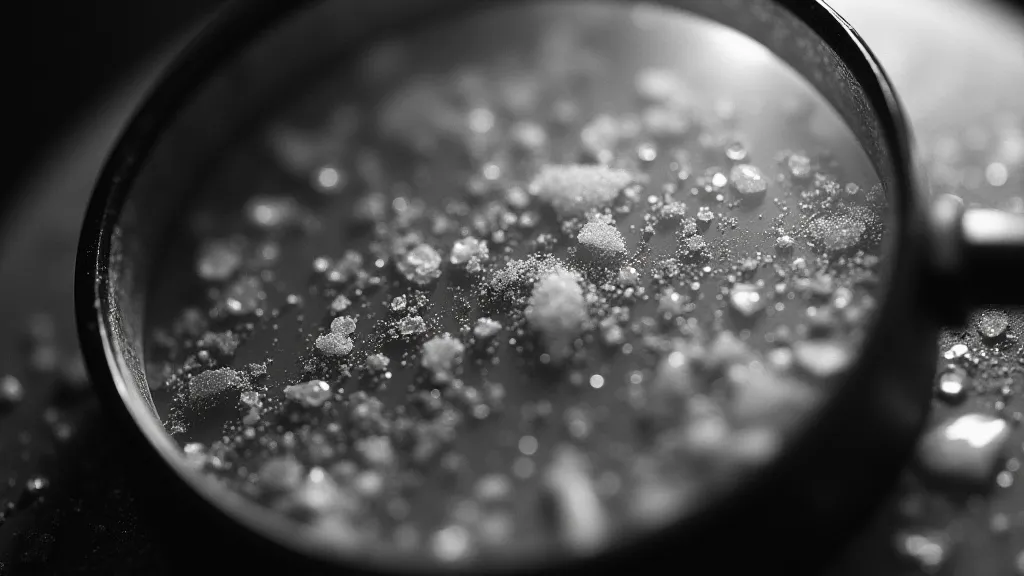
Black and white film isn’t made of magic; it’s made of silver halide crystals – typically silver bromide (AgBr), silver chloride (AgCl), or a combination. These crystals are embedded in a gelatin emulsion. Before exposure, these crystals are inert – they simply reflect light. When light strikes a crystal, a tiny change occurs: a latent image is formed. This isn't visible; it’s a subtle disruption within the crystal lattice.
The light creates "latent image centers" – imperfections in the crystal structure. The more light hitting a particular area of the film, the more centers are created. This difference in latent image centers dictates the brightness of the corresponding area in the final print. Understanding these nuances is part of mastering the entire process, from exposure to the final print, and a proper darkroom setup is key. Speaking of which, ensuring you have safe lighting for darkroom photography is essential for both your eyes and the process itself.
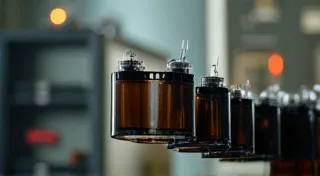
The Developer: Revealing the Latent Image
The developer is the heart of the process. It’s a reducing agent – a chemical that selectively reduces the silver halide crystals that contain the latent image centers. This means the crystals exposed to light transform into metallic silver, which is black. Those areas that received less or no light remain as silver halide.
Common developers include:
- D-76: A classic, versatile developer known for its fine grain and good contrast.
- Rodinal: A single-bath developer known for its sharpness and long working life.
- Ilford ID-2: Another popular choice known for its rich blacks and good tonality.
The developer doesn’t just convert silver halide to silver; it also releases halide ions. This is why developers are exhausted; they lose their effectiveness over time and need to be replenished (or replaced). The developer's behavior and how it interacts with the film can be quite complex, and taking test strips is often the best way to nail down the optimal development time. To learn more about that, check out the importance of test strips in darkroom printing.
The Stop Bath: Halting Development
Once development is complete, you need to stop it. That’s the job of the stop bath, typically a weak solution of acetic acid. It neutralizes the alkaline developer, preventing further reduction of the silver halide. This is a critical step; leaving the film in the developer too long will lead to over-development and loss of detail.
The Fixer: Removing Unexposed Silver Halide
The fixer (also called hypo) is the next crucial chemical. Its purpose is to remove the remaining, unexposed silver halide crystals. These are still light-sensitive and would continue to darken if left unprocessed. The fixer converts the remaining silver halide into silver halide salts, which are then washed away.
The Wash: Removing Residual Chemicals
After fixing, a thorough washing is essential. This removes any residual fixer and other chemicals from the film emulsion. Inadequate washing can lead to deterioration of the image over time – known as “fixer bath damage.” Troubleshooting these kinds of problems can be frustrating, but often stem from simple oversights in the chemical processes.
The Stabilizer (Optional)
A stabilizer is an optional final step. It helps to harden the gelatin emulsion, protecting it from scratches and physical damage. It also helps to retain moisture, preventing the image from becoming brittle. Beyond the chemistry, a clean and organized darkroom is vital to successful printing. When things go wrong, and they inevitably will, it’s helpful to have a resource to help. For more on troubleshooting common darkroom problems, visit troubleshooting common darkroom printing problems.
Understanding the Interactions: A Deeper Dive
The entire development process is a delicate balance. Factors like temperature, agitation, and developer concentration all influence the speed and extent of the chemical reactions. The type of paper you select also plays a critical role. Choosing the right darkroom paper is a crucial first step to achieving the prints you envision. Factors such as contrast, tone, and surface texture will all impact the final look.
Beyond the core chemicals, numerous variables can impact the final image. The quality of the water used in the development process matters – impurities can interfere with the chemical reactions. Agitation patterns, too, influence the development speed and contrast. A gentle, consistent agitation ensures even development, while a more vigorous agitation can create a mottled effect.
The contrast of the print is affected by a number of factors. The type of developer used has a significant impact, as do the dilution ratio and development time. Even the grain size of the film itself can influence contrast. Understanding these relationships allows for a level of control that goes far beyond simply following a recipe. It's about understanding *why* each step is important and how it contributes to the final result.
The long-term stability of a print is also influenced by the development process. Proper washing and the use of a stabilizer are essential for preventing deterioration over time. Even the storage conditions – exposure to light and humidity – can impact the print's longevity. While seemingly minor, these factors add up to create a print that will last for generations.
The Role of Temperature: Precision and Control
Temperature plays a critical role in controlling the speed and consistency of the chemical reactions. Each developer has an optimal temperature range, and deviations from this range can significantly alter the development time and contrast. A higher temperature accelerates the reaction, leading to faster development and potentially higher contrast. Conversely, a lower temperature slows the reaction, leading to slower development and potentially lower contrast.
Maintaining a consistent temperature is essential for achieving reproducible results. Fluctuations in temperature can lead to uneven development and unpredictable contrast. A simple thermometer can be used to monitor the temperature of the developer, stop bath, and fixer. More sophisticated temperature control systems can be used to maintain a constant temperature throughout the development process.
Experimentation and Fine-Tuning: The Path to Mastery
Mastering black and white film development requires experimentation and a willingness to learn from mistakes. Each developer has its own unique characteristics, and understanding these characteristics allows you to fine-tune the development process to achieve your desired results. Don’t be afraid to deviate from the “rules” and try new techniques. Some of the best results come from unexpected discoveries.
Keep detailed records of your experiments. Note the developer type, dilution ratio, development time, temperature, and agitation pattern. Also, record your observations about the resulting image – contrast, tone, grain, and sharpness. This record will serve as a valuable reference for future development sessions.
Beyond the Basics: Advanced Techniques
Once you have a solid understanding of the basics, you can explore more advanced techniques. Push processing, for example, involves developing the film for a longer time or at a higher temperature to increase its sensitivity to light. This can be useful for shooting in low-light conditions. Conversely, pull processing involves developing the film for a shorter time or at a lower temperature to reduce its sensitivity to light. This can be useful for shooting in bright conditions.
Other advanced techniques include using different developers in combination, such as a pre-bath to reduce the film’s sensitivity to light followed by a main developer to achieve the desired contrast and tone. The possibilities are endless, and the only limit is your imagination.