Safe Lighting for Darkroom Photography: A Beginner's Guide
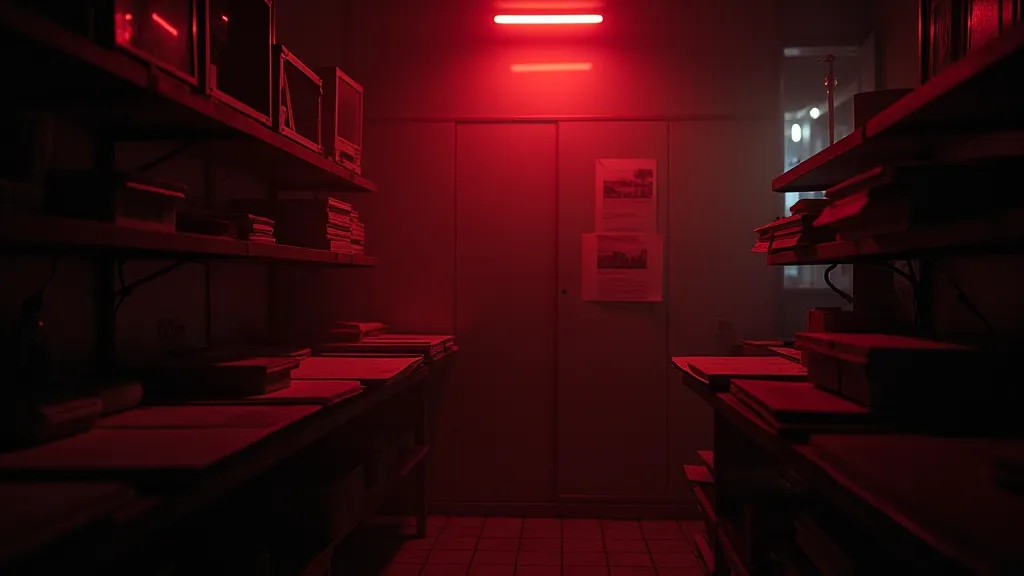
Welcome to the darkroom! One of the most crucial aspects of successful black and white photography is understanding and correctly using safe lights. These seemingly innocuous lights can be the difference between a beautifully developed print and a sheet of completely exposed paper (or ruined film!). This guide will walk you through the basics of safe lights and how to use them to protect your photographic materials.
What are Safe Lights?
Safe lights are specially filtered lights designed to allow enough illumination for you to see inside the darkroom while minimizing the amount of light that exposes your photographic paper or film. Standard room lighting, even seemingly dim light, contains wavelengths that will fog your materials. Safe lights filter out those problematic wavelengths. Understanding the materials you're using is vital – for instance, knowing the best paper for your project will significantly affect your process.
Types of Safe Light Filters
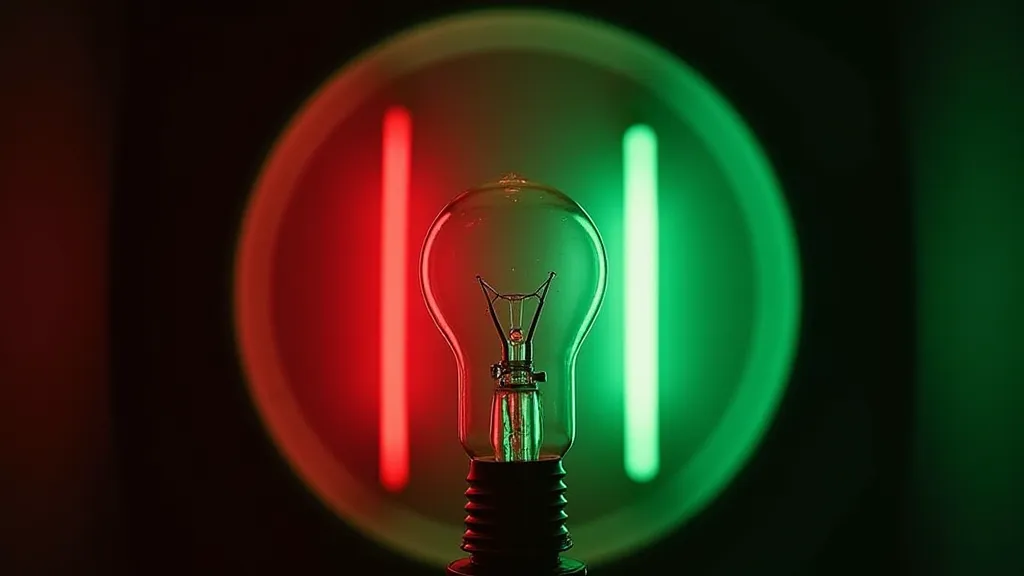
Safe light filters come in various colors, the most common being amber, red, and red/green. Historically, red safelights were widely used for black and white paper, while red/green were used for film. However, modern photographic papers and films are often less sensitive to red light. The “safest” option now is often a red/green filter, or even a high-quality amber filter, due to the increasingly fine grain of modern materials. Always check the manufacturer’s recommendations for your specific paper and film stock. The choices seem endless, but ultimately, ensuring you're using the right choosing the right darkroom paper can save you time and frustration.
Exposure Times and Safe Lights – The Critical Factor
Even with a safe light, there’s a limit to how long you can have them on. Each safe light has a specified 'exposure time' – the maximum time it can be illuminated before your materials start to fog. These exposure times are typically measured in hours. For example, a safe light might be rated for 10 hours of continuous use with a specific type of paper. Crucially, exposure time is not additive. If you use two safe lights, their exposure times are *not* doubled.
The rating on a safe light is based on ideal conditions. Things that can shorten the safe light's exposure time include:
Distance from the materials: The closer the safe light, the faster it exposes the paper or film.
Safe light quality: Cheap safe lights often leak more light than high-quality ones.
Type of paper/film: Some materials are more sensitive than others.
Age of the bulb: Older bulbs can leak more light.
A simple trick to keep track of exposure time is to log when you turn your safe lights on and off. A small notebook near the darkroom door is helpful for this. Another option is a timer attached directly to the safe light. You’re going to need other tools as well, a crucial element being a properly calibrated timer.
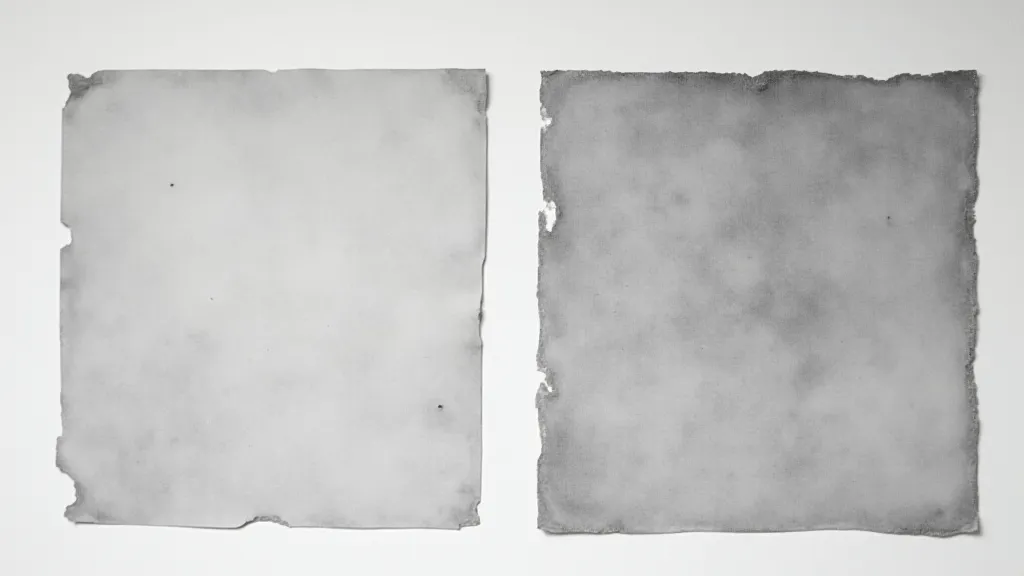
Testing Your Safe Lights – The Fog Test
The best way to be absolutely sure your safe lights are safe is to perform a fog test. This involves exposing a sheet of photographic paper to the safe light for an extended period (several hours), then developing it alongside a control sheet that has not been exposed. Any visible difference in density between the two sheets indicates fogging. This process is vital; it's almost as important as understanding fixing your black and white prints to ensure a consistent result. Small variations can be corrected in the printing process, but large discrepancies are better avoided altogether.
 Darkroom Equipment – Safe Lights and Beyond
Investing in good quality darkroom equipment is essential for consistent results. Safe lights are just one component; you're also going to need:
Developing trays
Graduated cylinders
Print tongs
A timer
A proper darkroom-safe thermometer
Beyond the basic tools, the chemistry itself is a crucial element in achieving good results. A thorough understanding of the processes involved can significantly improve the quality of your prints. You can learn a great deal about this by researching the chemistry of black and white film development.
Tips for Safe Darkroom Practices
Always check the manufacturer’s recommendations for your specific paper and film.
Use high-quality safe lights.
Keep your safe lights clean. Dust and grime can affect their filtration.
Keep your safe lights at a safe distance from your materials.
Perform fog tests periodically.
Keep a log of safe light exposure times.
Don't open the darkroom door unnecessarily.
Consider using a red blackout curtain to prevent light leakage around the door.
Furthermore, to truly master the art of darkroom photography, consider exploring more advanced techniques. One helpful method is to use print masks to apply more precise control over your printing process, allowing for intricate dodging and burning. Learning to create a print mask for precise dodging and burning can be a game changer.
Darkroom Equipment – Safe Lights and Beyond
Investing in good quality darkroom equipment is essential for consistent results. Safe lights are just one component; you're also going to need:
Developing trays
Graduated cylinders
Print tongs
A timer
A proper darkroom-safe thermometer
Beyond the basic tools, the chemistry itself is a crucial element in achieving good results. A thorough understanding of the processes involved can significantly improve the quality of your prints. You can learn a great deal about this by researching the chemistry of black and white film development.
Tips for Safe Darkroom Practices
Always check the manufacturer’s recommendations for your specific paper and film.
Use high-quality safe lights.
Keep your safe lights clean. Dust and grime can affect their filtration.
Keep your safe lights at a safe distance from your materials.
Perform fog tests periodically.
Keep a log of safe light exposure times.
Don't open the darkroom door unnecessarily.
Consider using a red blackout curtain to prevent light leakage around the door.
Furthermore, to truly master the art of darkroom photography, consider exploring more advanced techniques. One helpful method is to use print masks to apply more precise control over your printing process, allowing for intricate dodging and burning. Learning to create a print mask for precise dodging and burning can be a game changer.
 The development process itself can be challenging, requiring careful attention to detail and a thorough understanding of the chemical reactions involved. Achieving consistent and predictable results demands a solid grasp of the underlying principles.
Ultimately, darkroom photography is a blend of technical skill and artistic vision. Mastering the equipment is just the first step; the true reward lies in the ability to translate your creative ideas into tangible prints.
By following these guidelines, you can create a safe and productive darkroom environment, allowing you to confidently develop and print beautiful black and white photographs. Remember to experiment with different techniques and materials to find what works best for you. The darkroom is a place of exploration and discovery, so embrace the process and enjoy the journey.
The development process itself can be challenging, requiring careful attention to detail and a thorough understanding of the chemical reactions involved. Achieving consistent and predictable results demands a solid grasp of the underlying principles.
Ultimately, darkroom photography is a blend of technical skill and artistic vision. Mastering the equipment is just the first step; the true reward lies in the ability to translate your creative ideas into tangible prints.
By following these guidelines, you can create a safe and productive darkroom environment, allowing you to confidently develop and print beautiful black and white photographs. Remember to experiment with different techniques and materials to find what works best for you. The darkroom is a place of exploration and discovery, so embrace the process and enjoy the journey.