Fixing Your Black and White Prints: A Step-by-Step Guide
Fixing is arguably the most crucial step in the darkroom process. It not only stops the development of the image but, critically, renders it stable and archival. Skipping or rushing this step can lead to faded prints, color shifts, and ultimately, a disappointing result. This guide walks you through the fixing process, ensuring your black and white photographs are protected for years to come. Understanding the fundamental principles at play also helps—and if you're interested in learning more about the underlying reactions, check out our article on the chemistry of black and white film development.
Understanding the Role of the Fixer
During development, silver halide crystals that haven't been reduced to metallic silver remain sensitive to light and continue to react. The fixer, typically a sodium thiosulfate solution, dissolves these unexposed crystals, leaving behind the stable silver image. Proper fixing prevents further image degradation and ensures longevity. The chemistry behind this process is complex and interwoven with the development stage; it’s a vital counter-reaction to the developing agents.
What You'll Need
- Fixer solution (follow manufacturer's instructions for dilution)
- Graduated cylinder or measuring cup
- Darkroom safe tank or developing trays
- Thermometer
- Timer
- Gloves (recommended)
Step-by-Step Fixing Process
- Prepare the Fixer: Dilute the fixer according to the manufacturer's instructions. The correct dilution is vital for proper fixing and will impact the archival qualities. Use distilled water for best results, especially if your tap water is hard. Proper dilution not only impacts archival quality but also influences the overall contrast of your final print – something many photographers refine with techniques like understanding contrast in darkroom printing.
- Temperature Control: Ideally, maintain the fixer bath temperature between 68°F (20°C) and 60°F (15°C). Temperature fluctuations can affect fixing time and image stability. Maintaining consistent temperature is a cornerstone of predictable results in the darkroom, and consistency is key throughout the entire process, from development to fixing.
- Submerge the Print: Gently submerge your print into the fixer bath. Ensure the print is fully covered and free of air bubbles. Air bubbles can create uneven fixing. Ensuring even submersion ensures uniform fixing across the entire image.
- Agitation: Agitate the fixer bath continuously during the fixing process. This ensures even distribution of the fixer and prevents uneven fixing. Typical agitation involves rocking the developing tank or gently inverting and lifting trays. Consistent agitation is just as crucial as the right fixer concentration and temperature.
- Fixing Time: Fixing time varies based on the fixer concentration, temperature, and the paper type. Consult the paper manufacturer’s recommendations. A general guideline is 2-5 minutes. The duration of fixing directly impacts the long-term stability of the image; shorter times might result in fading while excessively long fixing can impact tonal range.
- Visual Check (Optional): After about half the recommended fixing time, briefly check the print under safelight. The image should appear clear and distinct. If the image is still hazy, it needs more fixing. This step provides valuable feedback, helping you fine-tune your process. Many photographers also employ techniques like dodging and burning to further refine the image after fixing—a skill detailed in our guide to dodging and burning.
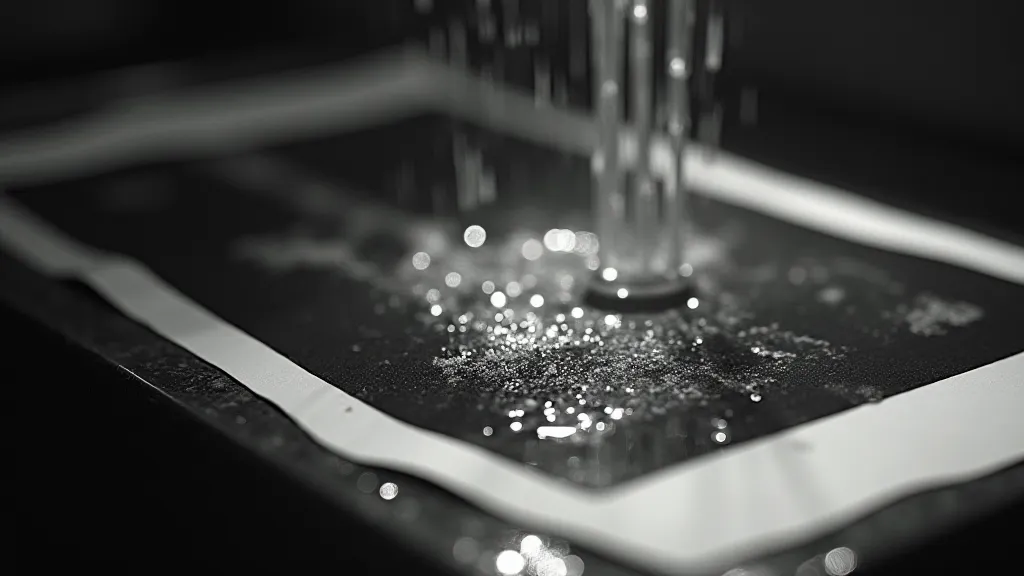
- Rinse Thoroughly: Once the fixing time is complete, thoroughly rinse the print under running water. This is *essential* to remove all traces of fixer. Insufficient rinsing can cause image degradation over time. A minimum of 30 minutes of running water is recommended. Some photographers extend rinsing time up to an hour, especially for archival prints. The rinsing stage is critical, and understanding the nuances of this process is a sign of a skilled darkroom practitioner.
- Post-Soak (Optional but Recommended): A post-soak in a solution of sodium carbonate (washing soda) can help neutralize any remaining traces of acid from the paper and fixing process. This contributes to archival stability. Follow manufacturer's instructions for dilution. The inclusion of a post-soak shows dedication to longevity and archival quality.
- Drying: Gently blot excess water from the print with a clean, lint-free cloth. Then, allow the print to air dry or use a print dryer. Avoid direct sunlight during drying. Proper drying prevents water spotting and maintains the print's flatness.

Troubleshooting Common Issues
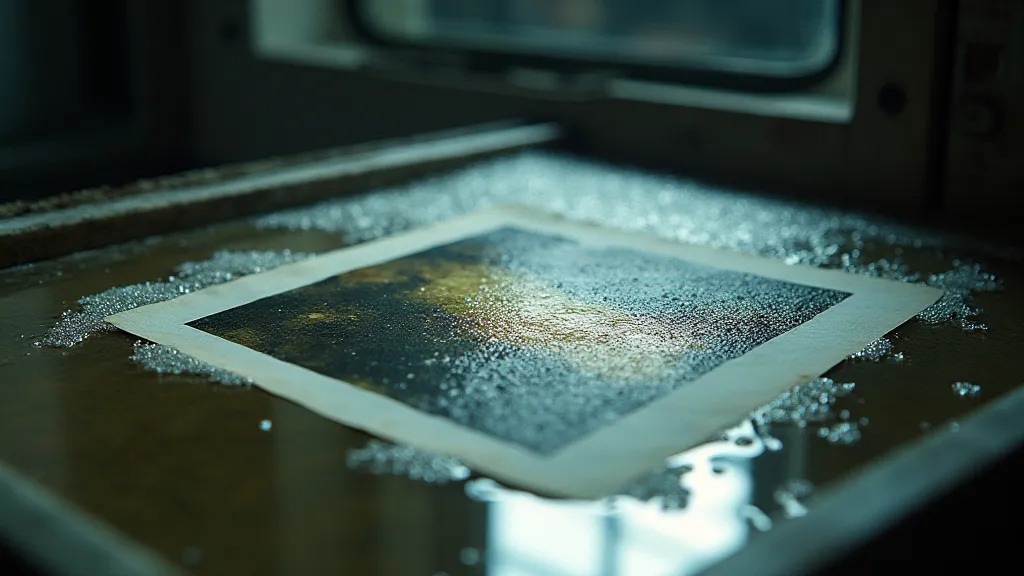
- Fading Images: This often indicates insufficient fixing time or weak fixer solution. Refresh the fixer regularly or use a stronger solution. Regularly checking and replacing your fixer is a sign of good darkroom hygiene.
- Color Shifts: Can be caused by improper fixing or contaminated fixer. Use fresh, properly diluted fixer. Maintaining the purity of your chemicals is crucial.
- Bronzing: A reddish-brown discoloration. Could be caused by hard water used in the process or improper fixing. Consider using distilled water or a filtration system if your tap water is known to be hard.
Beyond the Basics: Exploring Creative Effects
While the steps outlined above are essential for creating stable, archival prints, the darkroom offers a world of creative possibilities. For example, split grade printing is a powerful technique used to manipulate contrast in specific areas of the image, adding a unique artistic touch. If you’re intrigued by the prospect of manipulating your prints in non-traditional ways, explore our detailed guide to exploring split grade printing.
Final Thoughts
Fixing is a crucial, but often overlooked, step in darkroom photography. By following these steps carefully, you can ensure your black and white prints are not only beautiful but also archival, preserving your photographic memories for generations to come. Remember to always consult the paper manufacturer’s recommendations for best results. The entire process, from development to fixing and beyond, is a fascinating journey—a blend of science, art, and craftsmanship.
