Understanding Contrast in Black and White Darkroom Printing
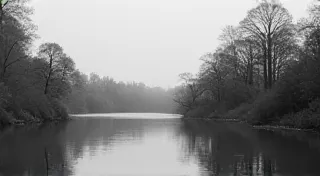
Contrast is arguably one of the most crucial aspects of black and white darkroom printing. It dictates the visual impact and emotional tone of your final print. A low-contrast print might feel soft and dreamy, while a high-contrast print can be dramatic and stark. This guide will explore the concepts of contrast and the various techniques you can employ to control it in your darkroom.
What is Contrast in Black and White Printing?
In simple terms, contrast refers to the difference between the darkest blacks and the brightest whites in your image. It's about the range of tones between those extremes, and how smoothly (or abruptly) those tones transition. The contrast in your negative is only a starting point; you have significant control during the printing process. You're essentially translating the tones of the negative onto the photographic paper.
Factors affecting contrast in the negative itself include the film type, development process, and the lighting conditions during the original exposure. The entire process, from exposing the film to seeing the final print, is a delicate dance between science and art. Understanding the fundamentals of film development is an essential first step in mastering darkroom printing. However, the darkroom provides a powerful opportunity to fine-tune and customize the final print's look.
Methods for Controlling Contrast
Several techniques allow you to manipulate contrast during printing. We’s delve into some of the key methods:
1. Varying Development Time
The most fundamental method involves adjusting the development time of the photographic paper. Generally:
- Shorter development time: Decreases contrast. This brightens the mid-tones and reduces the density of the blacks.
- Longer development time: Increases contrast. This darkens the blacks and brightens the highlights.
The chemistry involved in paper development is complex, and even slight variations in temperature and developer concentration can influence the final result. To truly grasp the science behind the process, explore the chemistry of black and white film development. It’s crucial to keep meticulous records of your development times to consistently reproduce your desired results. Start with the paper manufacturer’s recommended development time and then make small adjustments (e.g., 10-15 seconds) to observe the effect.
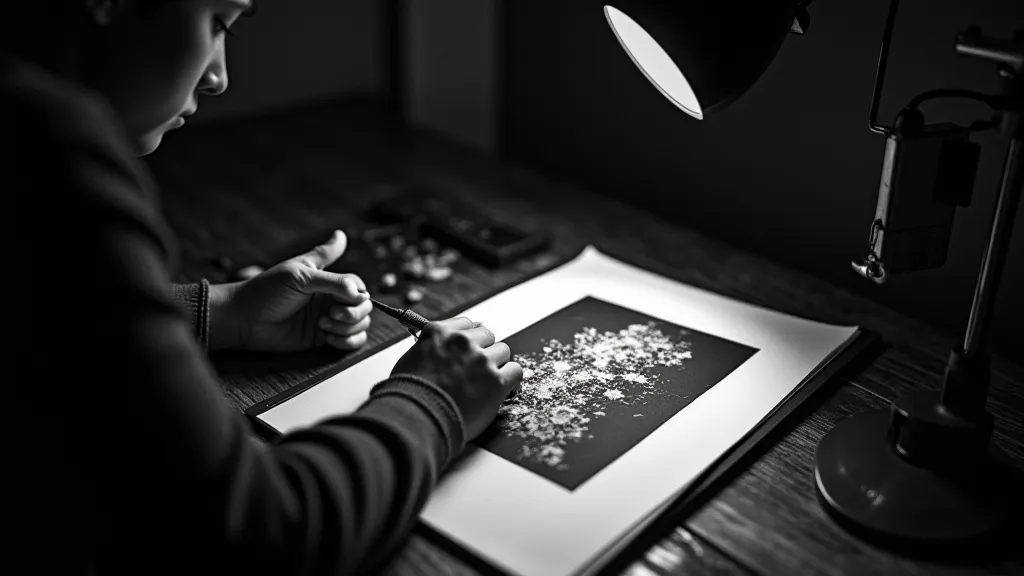
2. Dodging and Burning
Dodging and burning are local contrast control techniques. They allow you to selectively lighten or darken specific areas of the print.
- Dodging: Blocking light from reaching a portion of the photographic paper during exposure. This lightens those areas, reducing their density and appearing brighter in the final print. A simple method is using a piece of cardboard with a hole cut into it, moving the hole over the area you want to lighten.
- Burning: Increasing the exposure to specific areas of the photographic paper. This darkens those areas, increasing their density. A simple method is using a tool to direct light to darken areas.
Mastering dodging and burning takes practice and a good understanding of how different areas of the image respond to varying light exposure. It's a subtle art, requiring a keen eye and a steady hand. Consider the interplay of light and shadow as you learn to sculpt your prints.
3. Using Contrast Filters
Many photographic paper manufacturers offer a range of contrast filters. These filters selectively absorb light, affecting the tonal range of the print. Filters are typically numbered, with lower numbers representing lower contrast and higher numbers representing higher contrast.
- Lower-numbered filters (e.g., 00, 0): Produce lower-contrast prints, softer tones. Ideal for scenes with already high contrast, or to soften a scene.
- Higher-numbered filters (e.g., 2, 3, 3+): Produce higher-contrast prints, more dramatic tones. Useful for flattening contrast or adding punch.
Experimenting with different filter combinations can unlock a wide range of creative possibilities. Understanding how each filter impacts the print’s overall tone is crucial to achieving your desired aesthetic.
4. Paper Choice
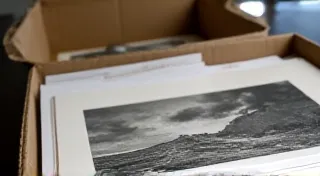
Different photographic papers have inherent contrast characteristics. Resin-coated papers generally have more contrast than fiber-based papers. Within each type of paper, there are variations in contrast grades. Research the paper you're using to understand its inherent characteristics. The longevity and archival quality of your prints are also important considerations. Proper archiving your black and white prints will ensure they last for generations.
Understanding the Darkroom Environment
Beyond the technical aspects of contrast control, the environment itself plays a vital role. Proper ventilation and safety practices are paramount in the darkroom. The chemicals used are potent and require careful handling. Familiarize yourself with introduction to darkroom ventilation and safety guidelines to protect your health and ensure a comfortable working environment. Maintaining a consistent temperature and humidity can also subtly influence the development process and print quality.
Experimentation and Record Keeping
The key to mastering contrast control is experimentation. Each negative is unique, and the ideal contrast settings will vary. It's a process of discovery, constantly refining your techniques and pushing creative boundaries. Make small adjustments to your development time, dodging/burning techniques, and filter choices, and document your results carefully. A print log detailing development time, filters used, and any dodging/burning adjustments will become an invaluable resource for consistent results. Don't be afraid to fail; every 'mistake' is a learning opportunity.
Advanced Techniques and Creative Considerations
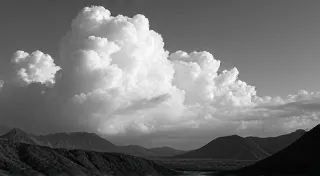
Once you've grasped the fundamentals, consider exploring advanced techniques like split-grade printing, which involves using different contrast filters in different areas of the print. This can create highly nuanced and visually stunning effects. The creative possibilities are truly limitless. Think about the story you want to tell with your print – do you want a soft and dreamy feel, or a stark and dramatic impact? Your choices in contrast control will significantly shape the viewer's experience.
Conclusion
Controlling contrast in black and white darkroom printing provides a powerful creative outlet. By understanding the principles and practicing the techniques outlined in this guide, you can transform your negatives into stunning, visually compelling prints that accurately reflect your artistic vision. Embrace the journey of discovery, experiment freely, and let your creativity flourish in the magical world of the darkroom.