Understanding Cropping in Darkroom Printing
Cropping is a powerful tool in darkroom printing, often overlooked but capable of drastically altering the impact of your black and white photographs. While digital editing allows for extensive post-processing adjustments, cropping in the darkroom is a deliberate, creative decision made *during* the printing process. It's not simply about removing unwanted areas; it's about actively guiding the viewer's eye and emphasizing specific elements within the scene. This article explores various cropping techniques and how they can elevate your prints.
Why Crop in the Darkroom?
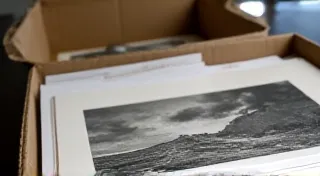
Digital cropping is destructive; it sacrifices resolution. Darkroom cropping, on the other hand, is non-destructive. You’re essentially creating a new print with a modified composition, leaving the original negative untouched. This offers a unique level of control and creative freedom.
Basic Cropping Techniques
Let's start with some fundamental cropping approaches. These aren’t rigid rules, but starting points for experimentation.
- Removing Distractions: Perhaps the most straightforward use of cropping is to eliminate distracting elements that detract from the main subject. A busy background, an unsightly object, or even a poorly framed shot can all be improved with a well-placed crop.
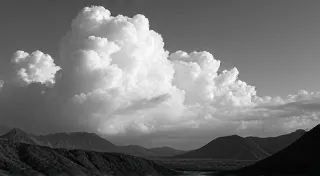
- Changing Aspect Ratios: Your negatives likely have a standard aspect ratio (often 3:2 or 4:3). Printing at a different aspect ratio—perhaps a square (1:1) or a panoramic format—can dramatically change the feel of the image. Consider how a square crop might emphasize symmetry, while a panoramic crop might create a sense of vastness.
- Framing and Leading Lines: Darkroom cropping allows you to emphasize existing framing elements within the scene or even create your own with the edge of the print. Cropping to highlight a leading line can powerfully direct the viewer's gaze.

Advanced Cropping Ideas
Once you’re comfortable with the basics, explore these more advanced techniques:
- The Rule of Thirds – Applied After the Fact: The rule of thirds is a classic composition guideline. If your initial exposure and composition weren’t quite right, darkroom cropping can help you nudge elements into those pleasing positions.
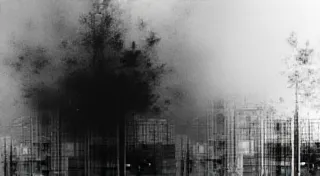
- Creating Abstraction: Aggressive cropping can remove context and transform a recognizable scene into an abstract composition. Focus on textures, tones, and shapes, stripping away any narrative elements.
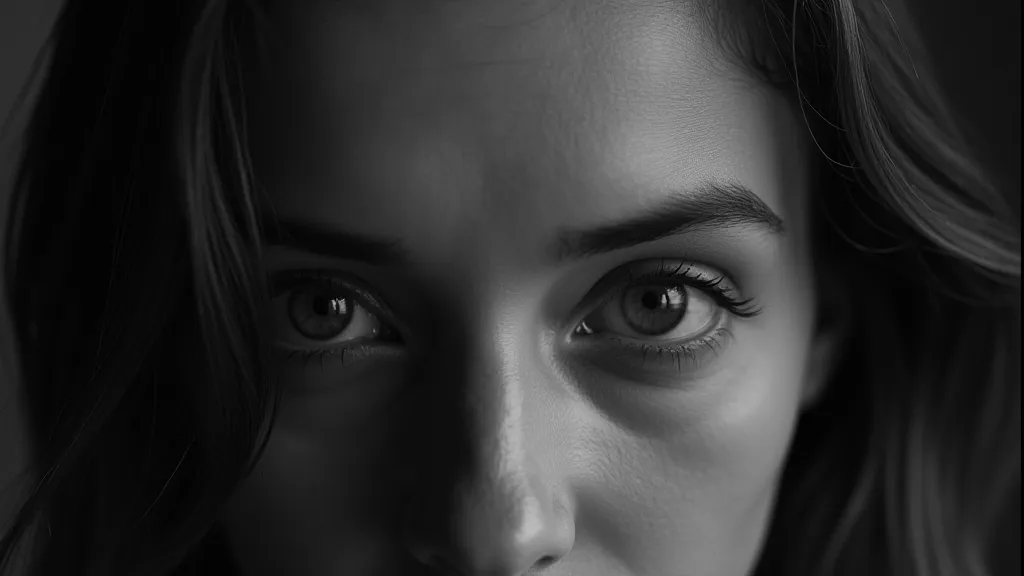
- Adding Tension: Deliberately cropping off important elements – a person's face, a crucial part of a building – can create a feeling of unease or mystery. This technique requires careful consideration to avoid making the image feel incomplete or unbalanced.
- Experimenting with Borders: Sometimes, leaving a narrow, intentional border of the original image can add a subtle, artistic touch. This can create a sense of history or a feeling of being framed within a larger context.
Practical Tips for Darkroom Cropping
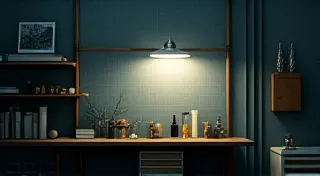
- Use an Enlarging Tool: Most darkrooms have an enlarging tool with a focusing scope. Use this to precisely position and evaluate your crop before committing to a print.
- Test Strips are Key: Create test strips with different crops to assess the tonal range and overall impact of your adjustments.
- Don't Be Afraid to Experiment: The best way to master cropping is through experimentation. Try different techniques, push boundaries, and see what works best for your vision.
- Consider the Print Size: The optimal crop will depend on the final print size. A crop that works well on a small print might look jarring on a large one.
Conclusion
Cropping in darkroom printing is a powerful tool for enhancing your black and white photographs. By understanding the principles of composition and practicing various techniques, you can transform your prints from good to exceptional. Embrace the creative possibilities and enjoy the process of refining your vision in the darkroom.