Exploring Split Grade Printing for Creative Effects
Split grade printing is a powerful darkroom technique that allows you to manipulate the contrast of different areas of a print independently. It’s a fantastic way to add creative flair and unique visual interest to your black and white photographs, moving beyond standard contrast control. This guide will walk you through the principles and practical steps of split grade printing. Before diving into this advanced technique, it's helpful to have a solid understanding of the fundamentals of understanding contrast in black and white darkroom printing. Knowing how contrast affects the overall look of your prints will significantly enhance your ability to utilize split grade printing effectively.
Understanding the Basics
Traditional printing involves adjusting the overall contrast of the image by varying the development time or using graded paper. Split grade printing, however, allows you to apply different development times or paper grades to specific regions of the print. This lets you, for example, brighten shadows in a dark landscape while maintaining good detail in the highlights, or create a dramatic vignette effect. The impact of these manipulations hinges on a grasp of how contrast contributes to the image's overall tone and texture.
The core concept revolves around using two or more trays of developer or different paper grades. You physically mask off areas of the photographic paper, exposing certain areas to one developer/grade and others to another. This allows for precise control over the resulting contrast levels. It's a more involved process than standard printing, requiring careful planning and execution to achieve the desired effect. Often, issues encountered during split grade printing can be linked back to a lack of understanding of fundamental printing problems; for instance, problems with exposure or developer coverage. See our guide to troubleshooting common darkroom printing problems for helpful tips.
Materials You'll Need
Darkroom with safelight
Enlarger
Negative
Photographic paper (black and white, matte or gloss – your choice)
Two or more trays of developer
Masking board (cardboard or plastic)
Masking tape
Ruler
Graduated cylinder
Timer
The Process: Step-by-Step
Prepare Your Developer: Ensure your developer is properly mixed and at the correct temperature. The key to split grade printing is consistency in your developer solutions. Minor variations in temperature or mixing can significantly impact the final contrast, so meticulous attention to detail is crucial.
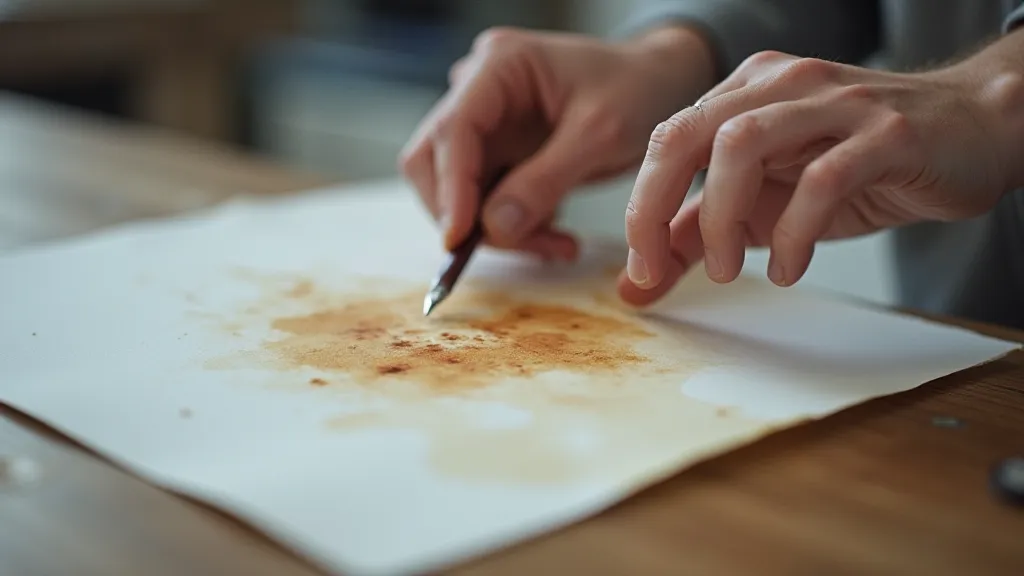
Masking: This is arguably the most crucial step. Using your masking board and tape, carefully create a mask that will block certain areas of the photographic paper. The complexity of your mask depends on the effect you want to achieve. For a simple split, you might mask half the paper. For more complex effects, you'll need more elaborate masking. Precise placement of the mask is critical. Consider how even the smallest light leak can compromise your results, effectively undoing all your careful planning.
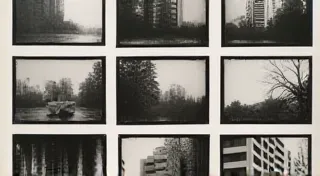
First Exposure: Place the masked paper onto the enlarger stage and make a short exposure. The exposure time will depend on your enlarger, negative, and paper – start with a test strip and adjust accordingly. It's beneficial to practice developing test strips to understand how different exposure times influence the print’s density and contrast.
Shift and Second Exposure: Carefully shift the mask to expose a different area of the paper. Make a second exposure with the paper under the enlarger. This exposure will be influenced by the first exposure. Think of it as layering contrasts - the initial exposure sets the foundation for the second, which builds upon it.
Development: Now, develop the paper, ensuring even coverage. The development time will influence the contrast in the exposed areas. Variations in development time can create beautiful and unexpected results, but consistency is key for repeatable outcomes.
Stop Bath & Fix: After development, immerse the print in the stop bath and then the fixer as you would with a standard print. Proper fixation is vital to ensure the print’s longevity and archival quality.
Wash & Dry: Wash the print thoroughly and allow it to dry. A thorough wash removes all traces of chemicals, preventing discoloration and extending the lifespan of your print.
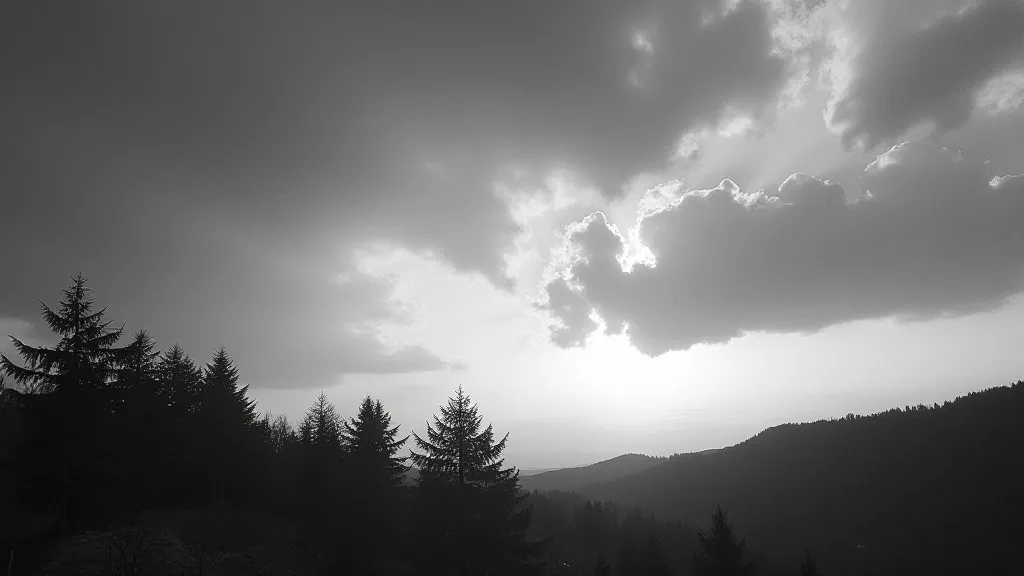
Example: Brightening Shadows in a Landscape
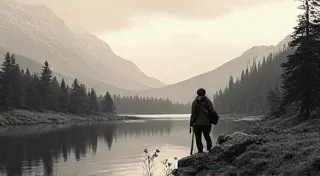
Imagine a dramatic landscape with a bright sky and dark foreground trees. To brighten the foreground, you would mask off the sky area. Expose the paper briefly under the enlarger. Then, shift the mask to expose the foreground and make a longer exposure. The longer exposure will develop the shadows in the foreground, bringing out details and lightening them without affecting the contrast in the sky. This controlled manipulation highlights the landscape's drama and brings out previously hidden details.
Advanced Techniques and Creative Possibilities
Beyond the basic two-mask approach, split grade printing opens doors to a myriad of creative possibilities. The technique lends itself well to creating complex vignettes, dodging and burning effects, and even simulating the appearance of multiple exposures. For more intricate effects, photographers sometimes explore using multiple negatives and creating multiple negatives for composite printing to layer even more complex tonal ranges. Experimentation is the key to mastering this technique and discovering your unique style.
Experimentation is Key
Split grade printing isn’t a rigid technique. Don't be afraid to experiment! Try different masking patterns, varying exposure times, and different developer grades to see what effects you can create. You can use multiple masks to create complex and artistic results. Consider exploring different paper grades; the contrast characteristics of different papers will significantly affect the final image. Remember that every print is a learning opportunity; analyze your results and adapt your approach accordingly. Even seemingly small adjustments can yield dramatically different results, so precise record-keeping is essential for replicating successful results.
Troubleshooting
Uneven Exposure: Ensure consistent exposure times for each masked area. Use a timer and carefully monitor your process to maintain accuracy.
Streaking: This can be caused by uneven developer coverage during development. Make sure the paper is completely submerged and that the developer is agitated properly. Consider using a rocking motion to ensure even distribution.
Masking Issues: Ensure your mask is light-tight and doesn’t allow light to leak under the edges. A simple test is to shine a bright light on the edges of the mask while in the darkroom to identify any leaks.
Split grade printing requires patience and a methodical approach. The initial learning curve can be steep, but the rewards are well worth the effort. By carefully controlling the development of different areas of the print, you can create images with a depth and complexity that is difficult to achieve with traditional printing methods.
The possibilities are truly limitless when you combine a solid understanding of photographic principles with a willingness to explore creative techniques. Don’t be afraid to push the boundaries and discover new ways to express your artistic vision. For an even more streamlined approach to creative control, you may find our guide on contact printing: a simple and effective technique a useful reference.