Making a Print Mask for Precise Dodging and Burning
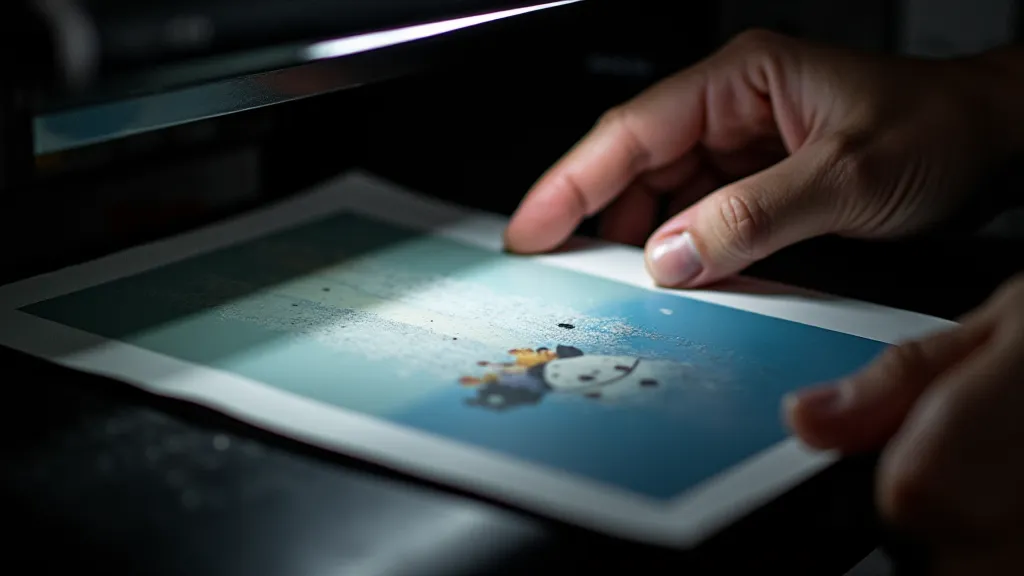
Dodging and burning are essential techniques in darkroom printing, allowing you to selectively lighten or darken areas of a print, creating emphasis and nuance. While you can achieve some dodging and burning effects using your hands and cutout tools, print masks offer a far more precise and repeatable method. This article will guide you through the process of making your own print masks.
What are Print Masks and Why Use Them?
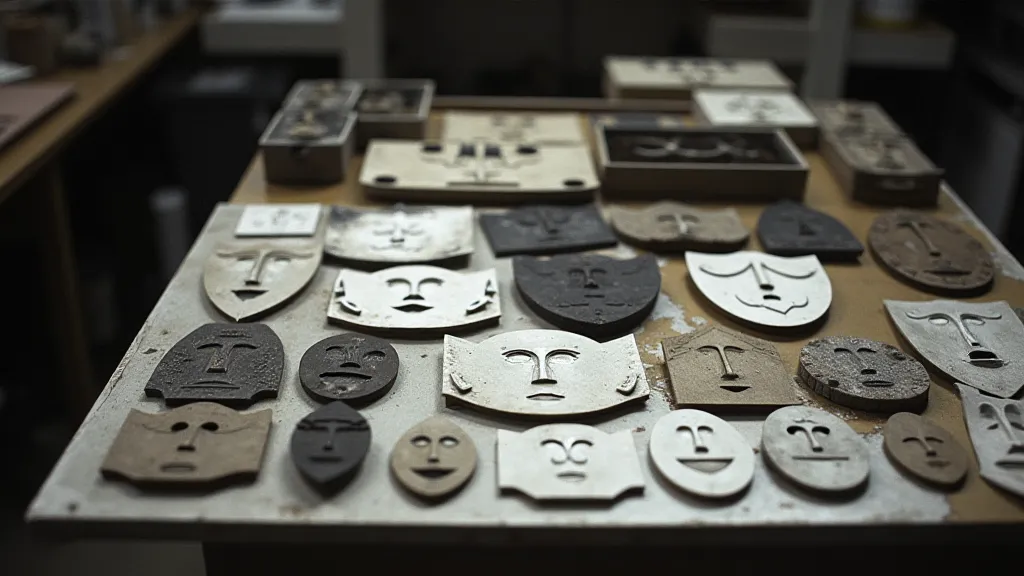
Print masks are essentially sheets of opaque material (typically thin board, plastic, or even multiple layers of tracing paper) that you can cut and manipulate to block light from specific areas of the photographic paper during exposure. They are a crucial tool for refining your prints, allowing you to subtly sculpt the tones and contrast. Think of them as an extension of the fundamental techniques of dodging and burning, giving you much finer control.
Understanding Dodging and Burning: A Quick Recap
Before we delve into print masks, it's helpful to understand the basics of dodging and burning. These techniques involve strategically blocking light from certain areas of the photographic paper during exposure to selectively lighten (dodge) or darken (burn) portions of the image. While using your hands or simple cutouts can offer a degree of control, achieving truly nuanced results can be challenging. Print masks provide a significant upgrade in precision and repeatability, allowing for a level of creative control that's difficult to attain otherwise.
Materials You'll Need
Step-by-Step Instructions
Beyond the Basics: Advanced Masking Techniques
Once you're comfortable with the fundamentals of creating basic masks, you can start exploring more advanced techniques. This includes creating masks with graduated densities, using multiple masks in combination, and even incorporating textures and patterns into your masks to create unique effects. The possibilities are truly endless, and experimentation is key to discovering your own creative voice.
Choosing the Right Materials: A Deeper Dive
The materials you use for your print masks can significantly impact their performance and durability. While thin board is the most common choice, different types of board offer varying degrees of opacity, rigidity, and ease of cutting. Plastic sheets can be useful for creating masks with a smoother finish, while tracing paper allows for a degree of light diffusion that can be useful for creating subtle tonal variations. Ultimately, the best materials for you will depend on your specific needs and preferences. Proper ventilation is key when working with these materials; be sure to consult Introduction to Darkroom Ventilation and Safety for best practices.
Tips for Success
Troubleshooting Common Masking Problems
Even with careful planning and execution, you may encounter some challenges when creating print masks. Here are a few common problems and how to solve them:
- Masks are too porous: Use a thicker board or apply a thin layer of opaque paint or sealant to the mask to reduce light leakage.
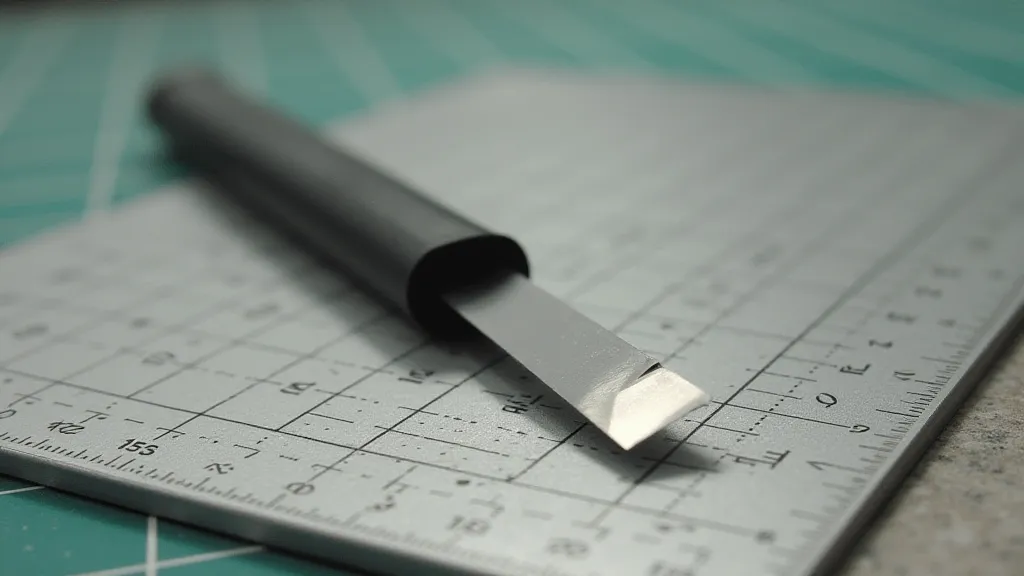
- Masks are difficult to cut: Ensure your blade is sharp and use a metal ruler as a guide. Consider using a different type of board that is easier to cut.
- Masks shift during exposure: Secure the mask to the printing frame using tape or clips to prevent movement.
Expanding Your Creative Vision
Print masking isn't just about correcting imperfections; it's about pushing the boundaries of your creative vision. Experiment with different masking techniques to create unique and expressive photographic prints. Consider how your choice of chemicals influences the final image—explore Experimental Toning Techniques in the Darkroom for new avenues of exploration.
Conclusion
Making your own print masks is a rewarding skill that will significantly enhance your darkroom printing abilities. With a little practice and patience, you’ll be able to create stunning, precisely controlled black and white photographs. It’s a testament to the power of hands-on craftsmanship and a vital tool for any serious darkroom printer.