Using Graduated Filters for Dramatic Skies
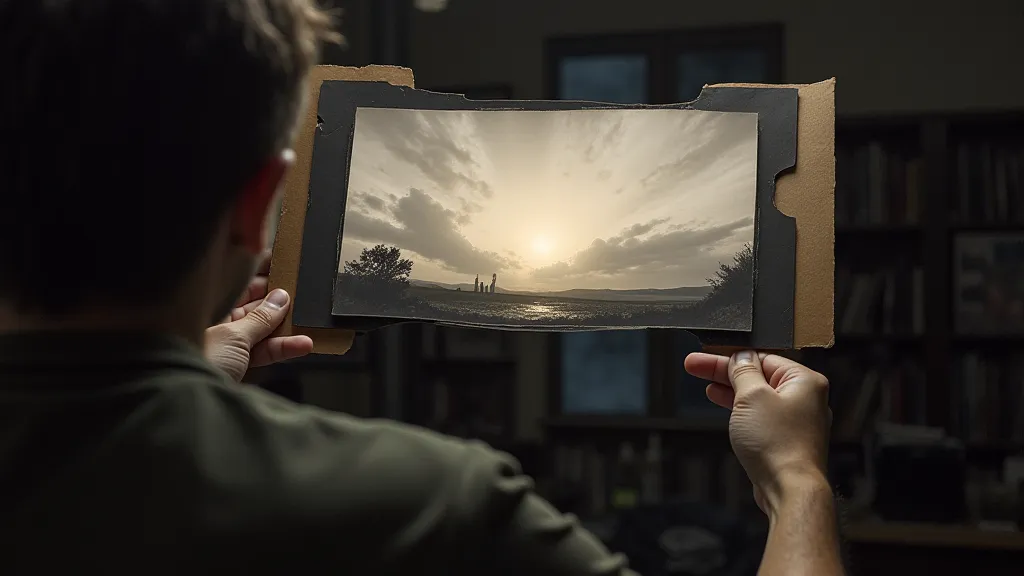
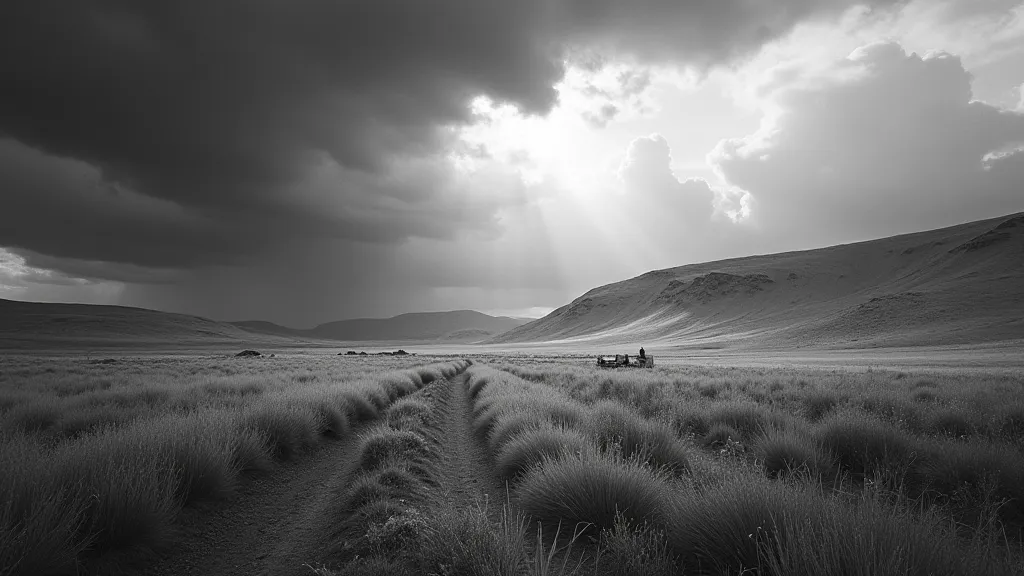
One of the most captivating elements in landscape photography is the sky. Often, a bright, expansive sky can easily overpower the darker foreground, resulting in a print where the sky is blown out and detail is lost. This is a common problem, especially when working with film. Fortunately, darkroom printing provides a powerful tool to remedy this: the graduated filter.
What are Graduated Filters?
Graduated filters are essentially a piece of darkened, usually neutral density, material that is only darkened on one half, transitioning smoothly to clear on the other. They are specifically designed to be placed between the negative and the photographic paper during the printing process. The darkened portion of the filter reduces the light hitting the paper, effectively darkening the corresponding area of the print.
Why Use Them in Darkroom Printing?
During darkroom printing, the contrast between the bright sky and darker foreground can be difficult to manage. While dodging and burning are essential techniques, a graduated filter can provide a more consistent and convenient way to control the sky exposure. It's a 'pre-emptive' dodge that affects the entire sky area, rather than requiring precise and continuous manipulation of a light source. Achieving the right exposure is crucial; and even seemingly small variations can dramatically alter the final print. It's important to ensure you have a firm grasp of how test strips contribute to achieving that perfect exposure, as covered in detail in “The Importance of Test Strips in Darkroom Printing”.
How to Use Graduated Filters: A Step-by-Step Guide
- Choose the Right Filter Strength: Graduated filters come in various densities (e.g., 2-stop, 3-stop). The higher the number, the more the filter reduces light. Start with a 2-stop filter and adjust based on your negative’s contrast and your desired result. Remember that experimentation is key to finding what works best for each individual negative.
- Position the Filter: Place the filter between the negative and the photographic paper. The darkened portion of the filter should align with the sky area of the negative. Precise positioning is essential for a balanced print.
- Secure the Filter: Use a filter easel or hold the filter in place carefully. Movement during exposure will result in uneven tones. A secure setup prevents frustrating results.
- Make a Test Strip: Always, always, always make a test strip! With the filter in place, make a series of exposures, varying the exposure time slightly. Examine the test strip under the darkroom enlarger light to see the effect of the filter. This step is critical to avoid wasting paper and chemicals. Understanding how subtle changes in exposure can drastically alter the final image is a skill honed through practice, a topic explored further in “The Importance of Test Strips in Darkroom Printing”.
- Evaluate the Results: Does the filter reduce the sky exposure enough to bring back detail? Is the effect too drastic, resulting in a muddy or flat appearance?
- Fine-Tune Exposure: Adjust the exposure time based on your test strip. You may also need to slightly adjust the filter’s position to fine-tune the effect.
- Make Your Print: Once you’ve determined the optimal exposure, make your final print.
Troubleshooting
Uneven Tones: This is usually caused by the filter moving during exposure. Make sure it is securely held in place. A slight breeze can also affect the filter.
Too Much Darkness: Reduce the filter density or shorten the exposure time.
Not Enough Darkness: Increase the filter density or lengthen the exposure time.
Experimentation is Key
Using graduated filters in your darkroom printing workflow can open up a new level of control over your landscape prints. Don't be afraid to experiment with different filter densities and positions to achieve the desired effect. Achieving high-quality prints often requires correcting issues that may arise during the printing process. If you encounter problems or want to refine your printing techniques, it’s worth checking out resources on “Fixing Your Black and White Prints: A Step-by-Step Guide”, which provides practical advice for troubleshooting common issues.
Beyond simply achieving a well-exposed print, the nuances of darkroom printing allow for incredible artistic expression. The type of toner used can significantly impact the final look and archival properties of your prints. Consider exploring the possibilities offered by selenium toner, as discussed in “Working with Selenium Toner: Archives and Artistic Effects”. This toner can introduce subtle color casts and enhance archival stability, opening up a whole new dimension in your photographic workflow.
The entire process of darkroom printing can seem daunting initially, but breaking it down into smaller steps and embracing experimentation is key. Understanding the fundamentals of contact printing can also be helpful. This simple yet effective technique provides a direct relationship between the negative and the final print, allowing for a deeper understanding of exposure and image density. It’s a great foundation for more complex printing methods.
Beyond Neutral Density
While neutral density filters are the most common, other types exist, such as color filters. These can be useful for adding subtle color casts to the sky or creating more stylized effects. However, mastering the neutral density graduated filter is a great starting point. Consider how the paper you select also contributes to the final aesthetic. Different papers have unique tonal ranges and textures that complement different images. Knowing how to effectively use the tools at your disposal and understanding how they interact is vital to achieving exceptional results.
The art of darkroom printing isn’t just about technical skill; it’s about developing a visual intuition. Learning to anticipate how different tools and techniques will impact the final image is what separates a competent printer from a true artist. Regularly reviewing your work and analyzing your results is essential for continuous improvement.
As you become more comfortable with the basics, you might want to explore advanced techniques such as split-grade printing or using multiple filters to achieve highly specialized effects. These techniques can push the boundaries of what’s possible with traditional darkroom printing.