Dodging and Burning: Mastering Local Contrast Control
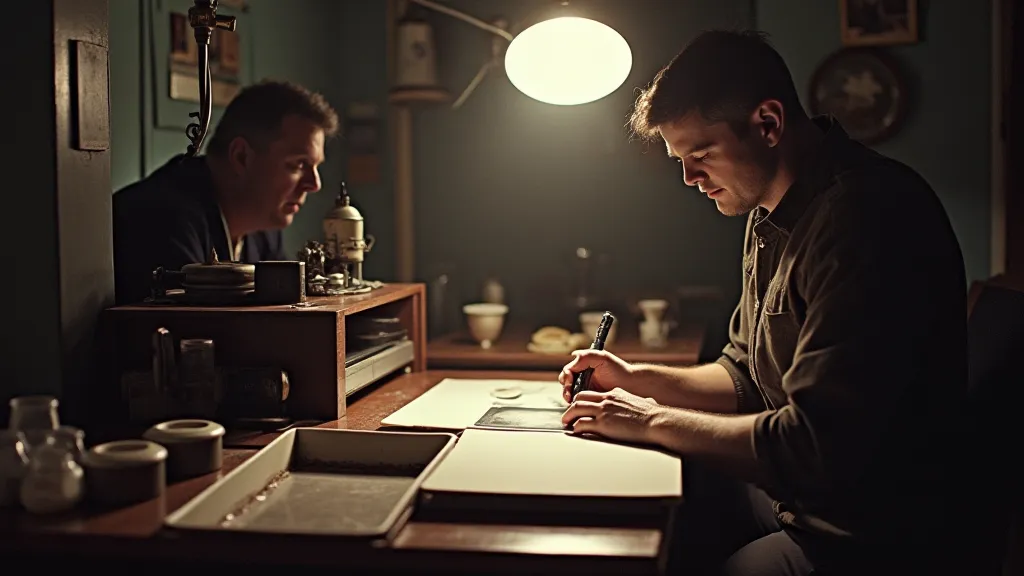
Dodging and burning are fundamental darkroom techniques that allow you to precisely control the contrast of your black and white prints. Unlike global contrast adjustments (like changing the paper’s contrast grade or using filtration), dodging and burning are local adjustments. This means you can selectively lighten or darken specific areas of the print, bringing out details, emphasizing shapes, and dramatically affecting the mood of the final image. They're essential tools for any serious darkroom photographer.
Understanding the Principles
At their core, dodging and burning are about manipulating the amount of light hitting different areas of the photographic paper during the exposure. Dodging *reduces* light exposure to a specific area, making it lighter. Burning *increases* light exposure to a specific area, making it darker. This isn't about changing the negative itself – it's about sculpting the print in the darkroom.
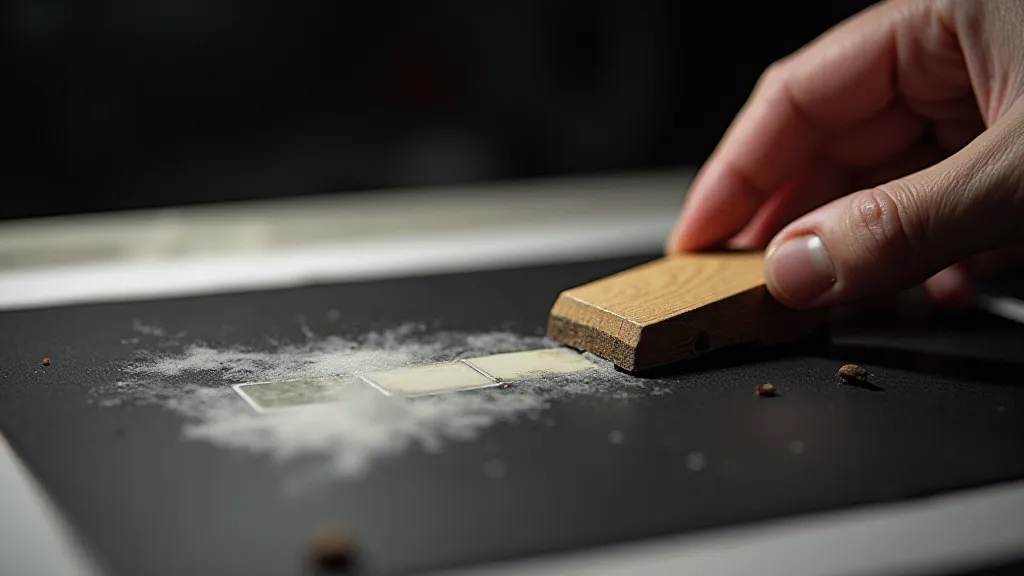
The Tools of the Trade
You'll need a few simple tools to successfully dodge and burn:
- Dodging Tool: Traditionally, this is a piece of flexible cardboard (like a cut-up cereal box). You can also use a sponge, or a commercially available dodging tool.
- Burning Tool: A small paintbrush, cotton swab, or a commercial burning tool work well.
- Timer: Essential for accurately timing your dodges and burns.
- Your Enlarger & Photographic Paper: Of course!
The Dodging Process
- Start Your Exposure: Begin your normal exposure time.
- Position the Dodging Tool: Hold the dodging tool between the enlarger lens and the photographic paper. The area covered by the tool will receive less light.
- Time Your Dodge: This is the critical part. The amount of time you dodge depends on the desired effect and the contrast of the original negative. Start with short durations (e.g., 1-2 seconds) and experiment.
- Remove the Dodging Tool: After the timed dodge, move the tool away, allowing the exposure to continue.
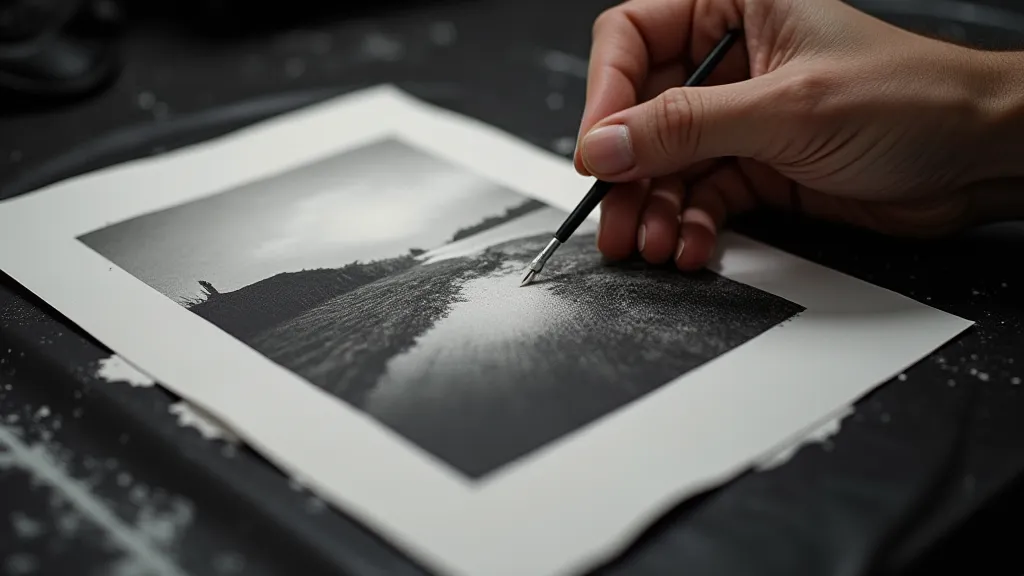
The Burning Process
Burning follows a similar process, but uses a burning tool to increase light exposure to a specific area.
- Continue Your Exposure: Continue your normal exposure time.
- Position the Burning Tool: Hold the burning tool close to the photographic paper, allowing it to block less light than if you were dodging.
- Time Your Burn: As with dodging, the duration of the burn depends on the desired effect. Start with short durations.
- Remove the Burning Tool: After the timed burn, remove the tool, allowing the exposure to finish.
Tips for Success
- Practice on Test Strips: Don't jump straight into dodging and burning on a full-sized print. Create test strips to determine the optimal dodge and burn times for different areas of the negative.
- Start Subtle: Small adjustments make a big difference. It's easier to add more dodge or burn than it is to correct an overdone adjustment.
- Consider the Negative: Understand the contrast range of your negative. High-contrast negatives may require less dodging and burning.
- Think About Shape and Form: Use dodging and burning to emphasize shapes and forms within the image.
- Observe Carefully: Pay close attention to the print as it develops. The effects of dodging and burning can be subtle at first.
Beyond the Basics
Once you're comfortable with the basic techniques, you can explore more advanced dodging and burning strategies. This might involve using multiple tools simultaneously, or using a graduated filter to create subtle tonal transitions. The possibilities are limited only by your imagination and experimentation.
Conclusion
Dodging and burning are powerful tools that can dramatically enhance your black and white prints. While they require practice and a good understanding of darkroom principles, the rewards are well worth the effort. Embrace the hands-on nature of these techniques and unlock your creative potential!