Contact Printing: A Simple and Effective Technique
Contact printing is one of the most fundamental, and rewarding, techniques in darkroom photography. It's a straightforward method for creating unique prints directly from your negatives, bypassing the need for an enlarger. This guide will walk you through the process, making it accessible even for beginners.
What is Contact Printing?
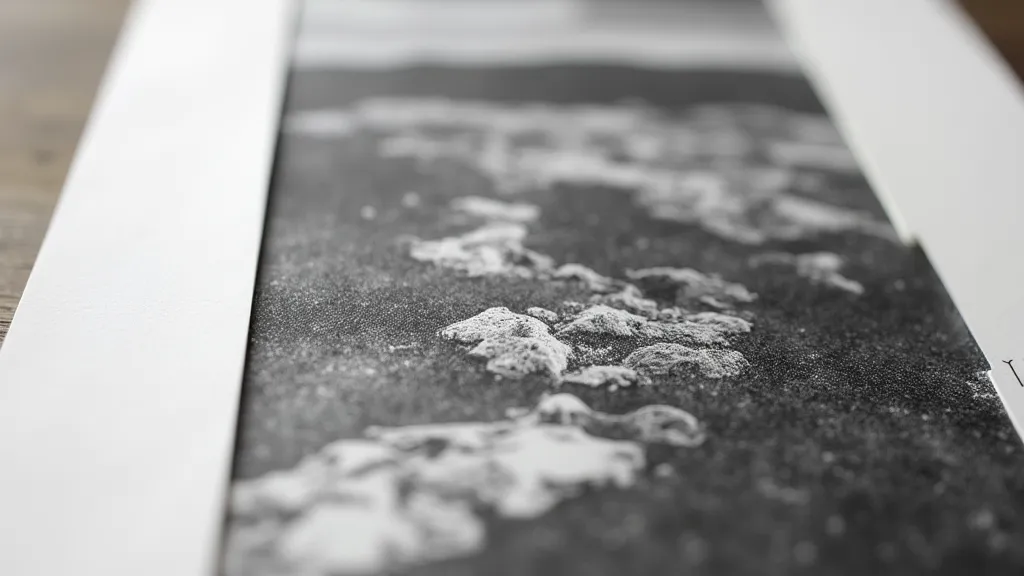
Essentially, contact printing involves placing your exposed and developed negatives directly onto photographic paper and exposing them to light. The resulting print is the same size as your negative. While it might seem basic, contact prints offer a distinct aesthetic – often possessing a raw, unmanipulated feel and a lovely sharpness edge to edge. They also offer a really satisfying shortcut to visual feedback on your exposure and composition. It's a fantastic way to connect directly with your photographic process and understand the interplay between negative and print.
Materials You'll Need
- A darkroom with safe lights.
- Black and white photographic paper (Glossy or Matte – your choice!).
- Your exposed and developed negatives.
- A piece of glass or clear acrylic to help keep the negative and paper flat.
- A timer.
- A test strip (optional, but highly recommended).
Step-by-Step Guide
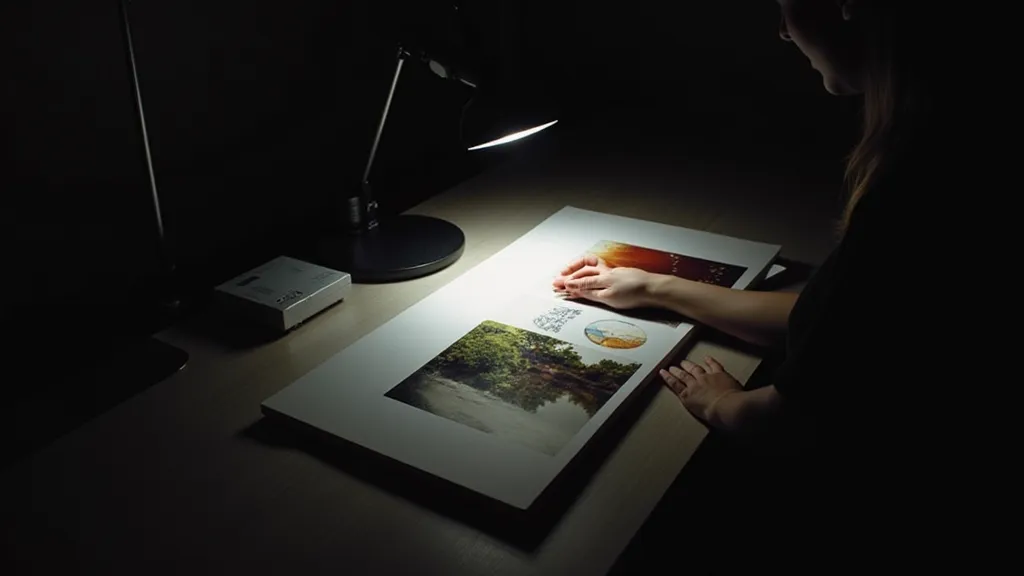
- Darkroom Setup: Make sure your darkroom is completely light-tight except for your safelight. A red or amber safelight is standard for black and white darkroom work. Proper darkroom setup is crucial; even a tiny bit of stray light can fog your paper.
- Paper Handling: Handle your photographic paper in the darkroom with only the safelight on. Paper is sensitive to light and any ambient light will fog the paper. Understand that the paper's sensitivity is a key factor in successful darkroom printing.
- Negative Placement: Carefully place your negative onto a piece of photographic paper. Make sure the emulsion side of the paper (the dull side) is facing down, and the shiny, emulsion-coated side is touching the negative. Use a piece of glass or acrylic to press the negative flat against the paper. This prevents light leaks and ensures even exposure.
- Test Strip (Recommended): Before committing to a full print, create a test strip. Cut a strip of paper and cover most of it with a piece of cardboard, leaving a small portion exposed. Expose this small section for a short period (e.g., 2 seconds). Move the cardboard slightly to expose a little more paper for another few seconds (e.g., 2 seconds). Repeat this process, increasing the exposure time each time, until you have a strip with varying levels of exposure. This allows you to judge the optimal exposure time. It's a crucial step in mastering exposure and understanding how to control the final image.
- Exposure: Once you’re satisfied with your test strip, determine the appropriate exposure time and expose the entire sheet of paper.
- Development: Immediately remove the exposed paper from under the negative and place it in the developer. Follow the developer’s instructions for processing time. The developer transforms the latent image on the paper into a visible image.
- Stop Bath: After the developer, transfer the print to the stop bath to halt the developing process. This prevents over-development and ensures consistent results.
- Fixing: Finally, place the print in the fixer to remove any remaining light-sensitive silver halide crystals, making the image permanent. Fixing is essential for archival quality prints.
- Washing and Drying: Wash the print thoroughly in running water to remove all traces of chemicals. Hang the print to dry. Proper washing is critical for the longevity of your prints, preventing discoloration over time.
Tips for Great Contact Prints
- Negative Condition: Clean your negatives before printing. Dust and fingerprints will show up on the print. Dusting and careful handling of your negatives are paramount.
- Paper Choice: Experiment with different paper grades and contrast filters to achieve different looks. The type of paper you choose significantly impacts the final look of your print.
- Contrast Control: If your prints are too dark or too light, you can adjust the contrast by using contrast filters during exposure. Understanding how contrast filters work is key to achieving the desired aesthetic. For a deeper dive into understanding and manipulating contrast, check out Understanding Contrast in Black and White Darkroom Printing.
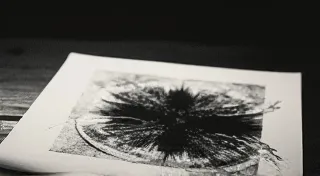
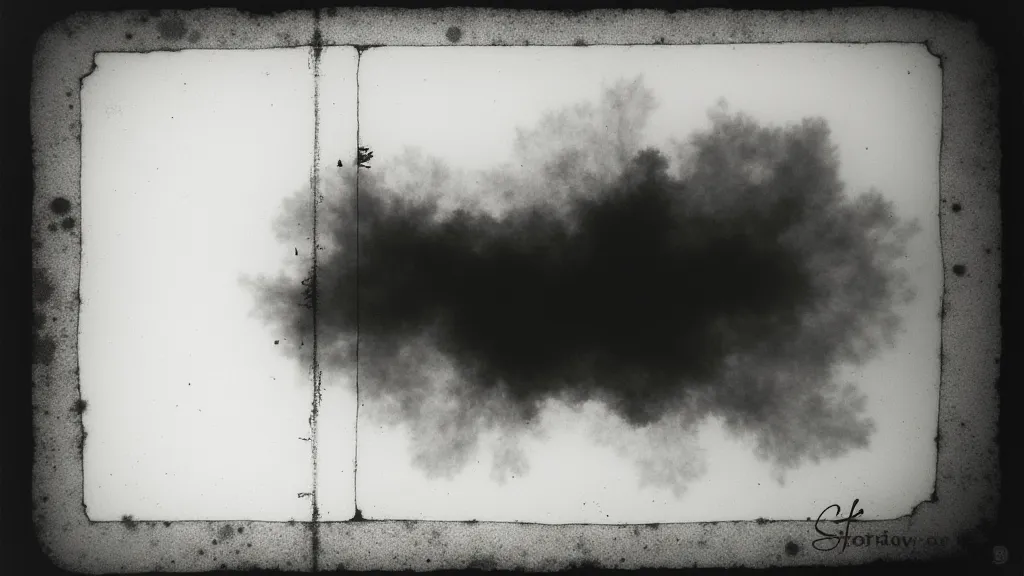
- Embrace Imperfection: Contact prints often have a certain rawness and character. Don't be afraid to embrace imperfections. Sometimes, the imperfections tell a story.
- Crop & Composition: Sometimes, part of the negative is unwanted, don’t be afraid to mask areas of the negative during exposure for interesting compositional effects. It's a great way to creatively alter the final print.
Beyond the Basics
Contact printing isn't just for straightforward reproductions of your negatives. You can use it to create unique artistic effects. Try layering negatives, using masks, or experimenting with different exposure techniques. When using masks to create complex and precise effects, understanding how to Making a Print Mask for Precise Dodging and Burning can greatly expand your creative options. Contact printing is a fantastic way to explore the fundamentals of photography and unlock your creative potential. Think about how different toners can affect the final look. Experimenting with Working with Selenium Toner: Archives and Artistic Effects can bring a whole new dimension to your contact prints.
Troubleshooting Common Issues
Even with careful preparation, you might encounter problems. Streaks, fogging, and uneven tones can all derail your print. Understanding the underlying causes – from inadequate darkroom lighting to incorrect chemical mixing – is crucial. If you're struggling to achieve consistent results, Troubleshooting Common Darkroom Printing Problems offers a comprehensive guide to diagnosing and resolving typical darkroom challenges.
Expanding Your Creative Vision
Contact printing provides a unique link between the negative and the final print, offering a direct and immediate feedback loop. This intimacy fosters a deeper understanding of your photographic process and allows for creative experimentation. Don’t be afraid to push the boundaries and discover new possibilities within this seemingly simple technique. The control you gain will translate into stronger and more expressive images. And remember, mastering the fundamentals—like clean negatives and proper exposure—will unlock a world of artistic potential within this beautiful and rewarding photographic process.